Are you a front-end developer? Or, do you write HTML, CSS, or JS to create web pages? Or maybe you develop WordPress themes with Xampp, Wamp, or Mamp to power your localhost.
If yes, how do you check your edits on a browser?
If you are like most people, you write code in your editor, save it, and refresh the browser to view the changes. But isn’t it slow and unproductive?
So in this post, I will show you a tool called Browsersync, which enables live-reloading. With it, your browser refreshes automatically as you type code in your editor. Isn’t it cool?
If you like watching things instead of learning, here is the video:
Below, I will show you the steps I used to install and run Browsersync on my machine.
The Setup
I will use a Windows system for this guide, but you can use Browsersync on any operating system, including Mac and Linux.
- Operating System: Windows 10
- Localhost: Xampp
- Code Editor: Microsoft Visual Studio Code
- The web page we’re building: An HTML page based on HTML5Boilerplate.com
Step 1: Start the server & open the project folder
It is obvious. You’ve to start the server and open the project folder to start developing.
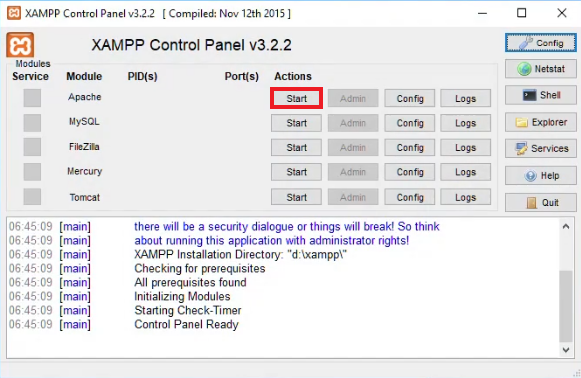
As I am using Xampp, the first step is to open the Xampp control panel and start the Apache server.
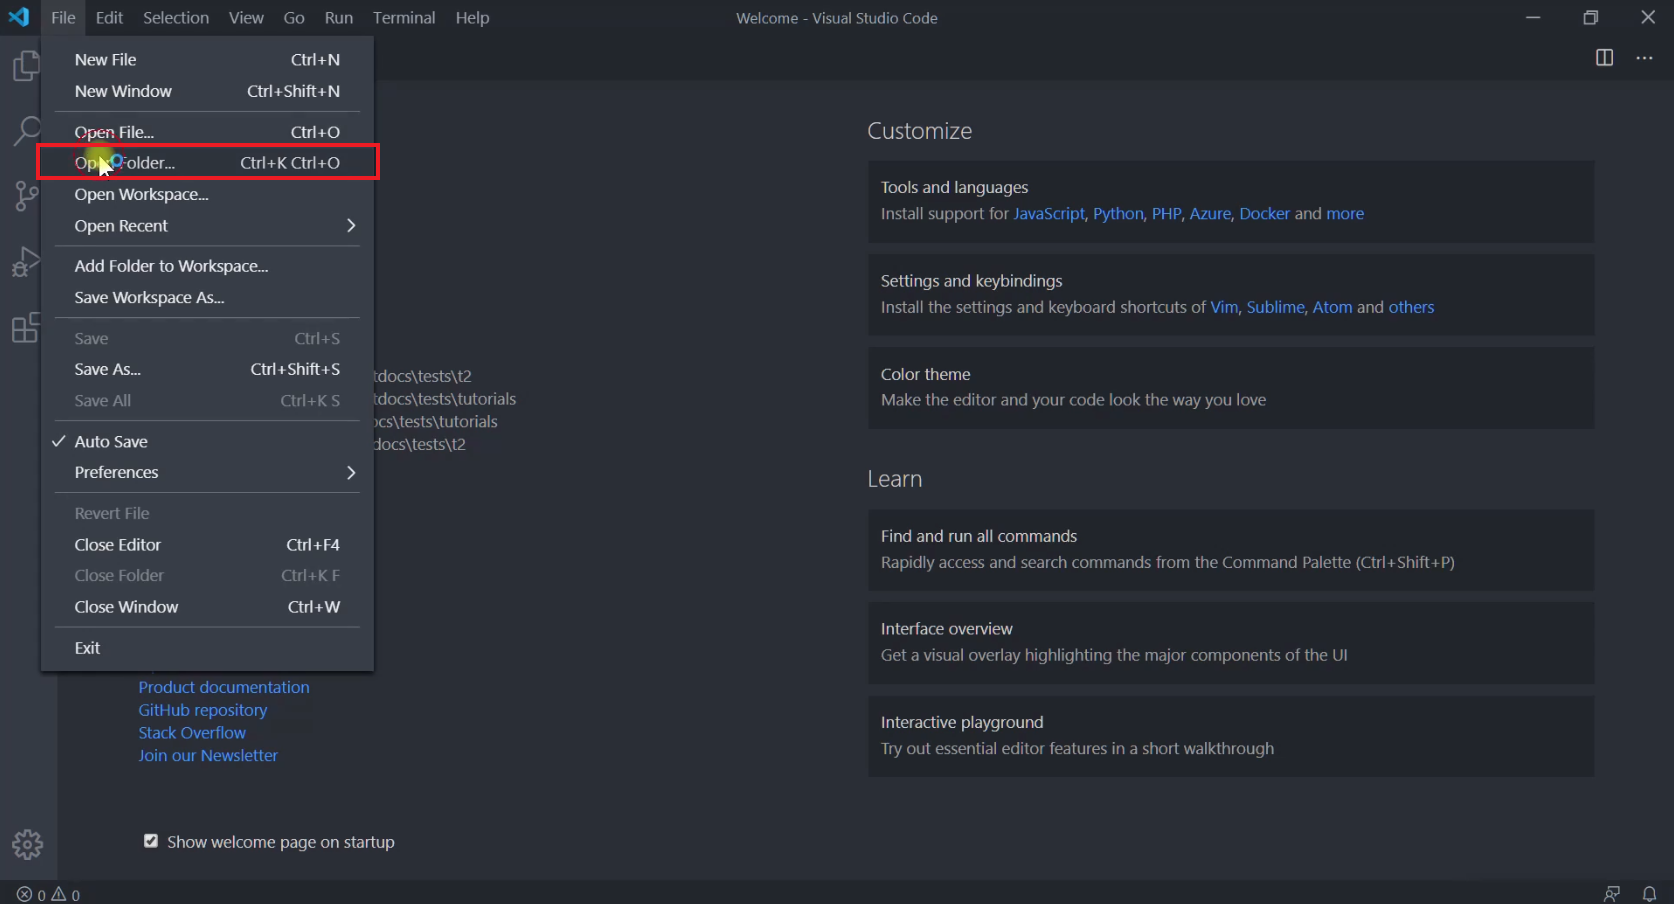
Next, the sample web page I created is located inside the htdocs folder of xampp – htdocs/mysite. So, open that folder in Visual Studio Code (or your favorite code editor).
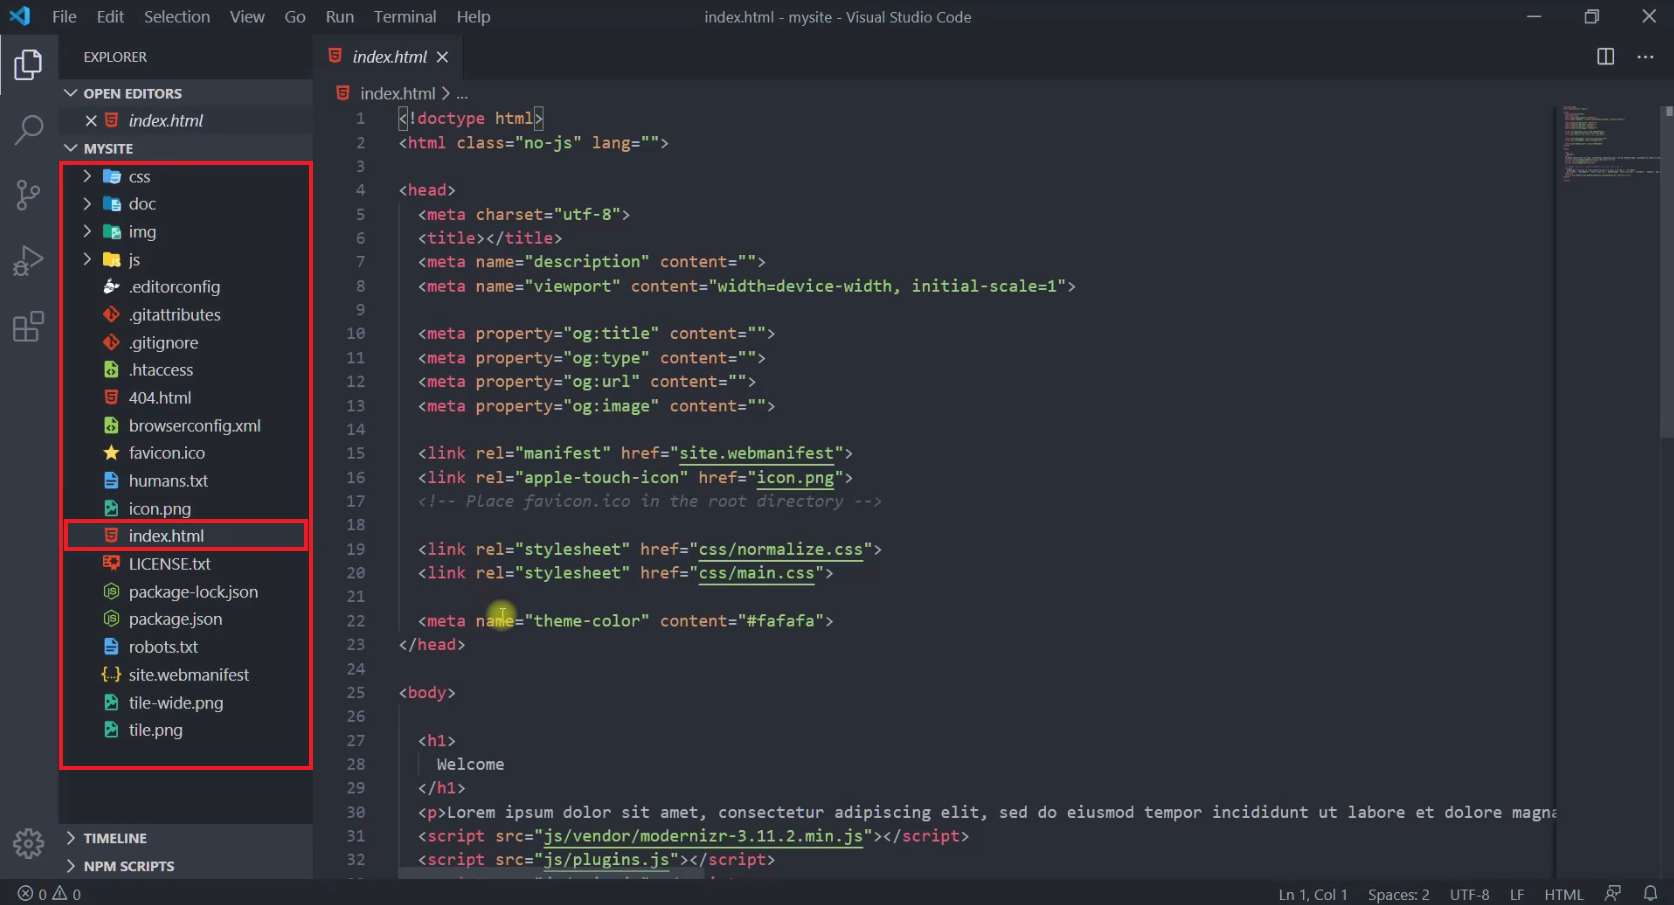
The site is just a simple HTML page I downloaded from the HTML5Boilerplate website. It includes an index.html file at the root, main.css inside the CSS/ folder, javascript files inside the js/ folder, and many other files. Here is the file structure:
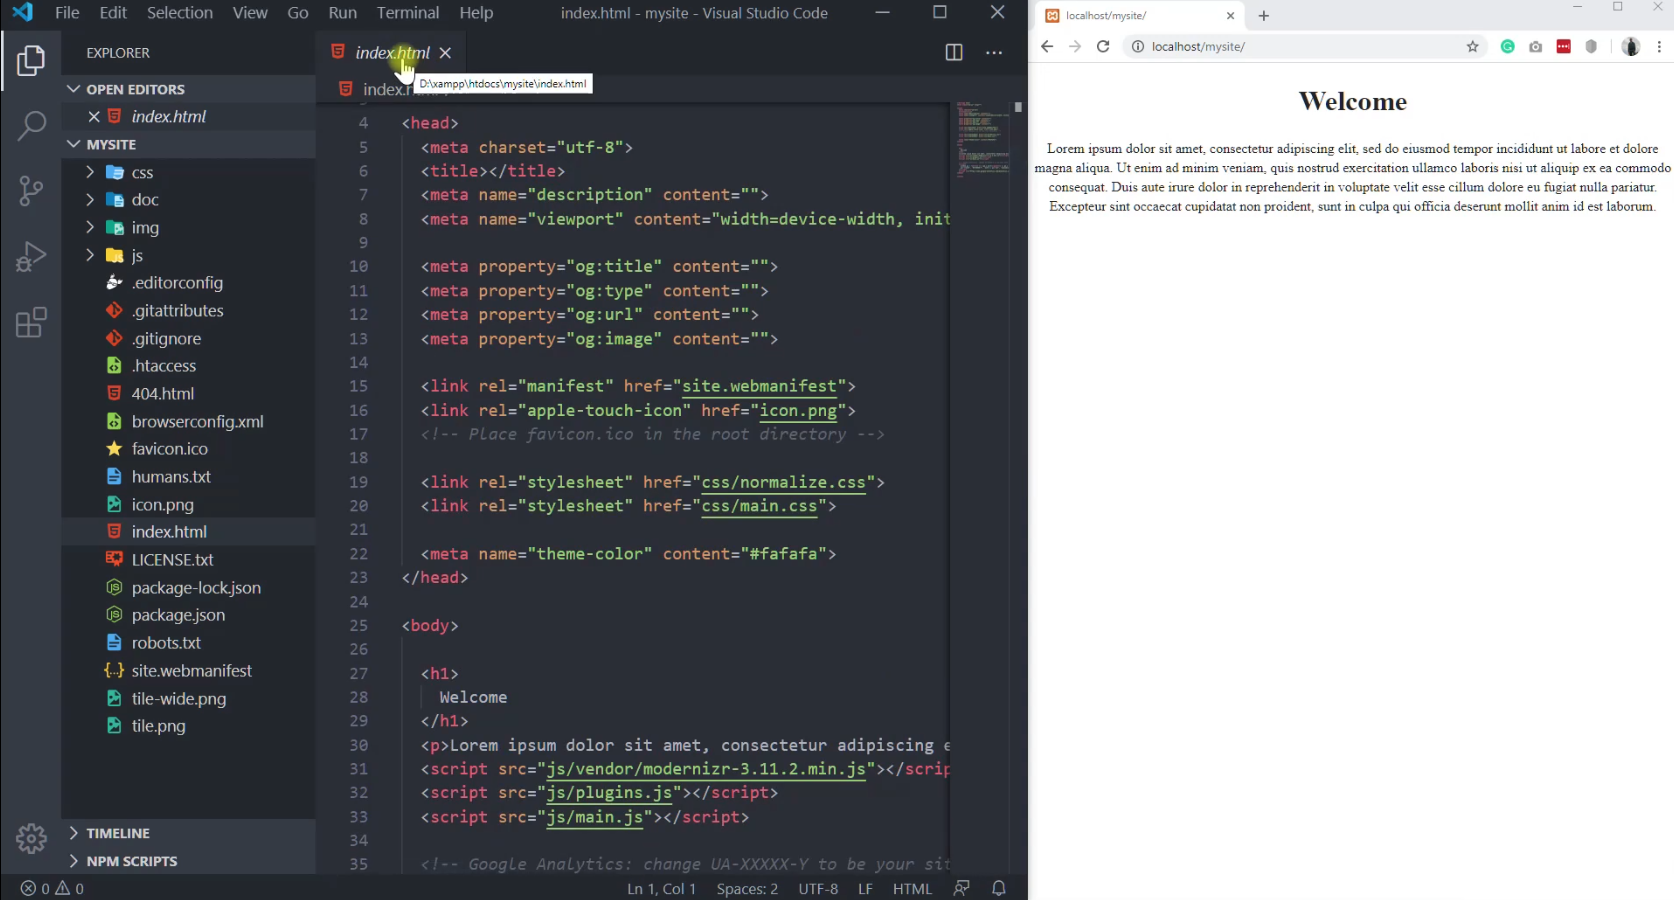
Now, if we edit the code, for example, if I change the background color in css/main.css, I have to reload the Chrome browser to view that change.
Step 2: Install Node.js & NPM (Node Package Manager)
Browsersync.io is available as an NPM package. That means it needs Node.js running on our system to work.
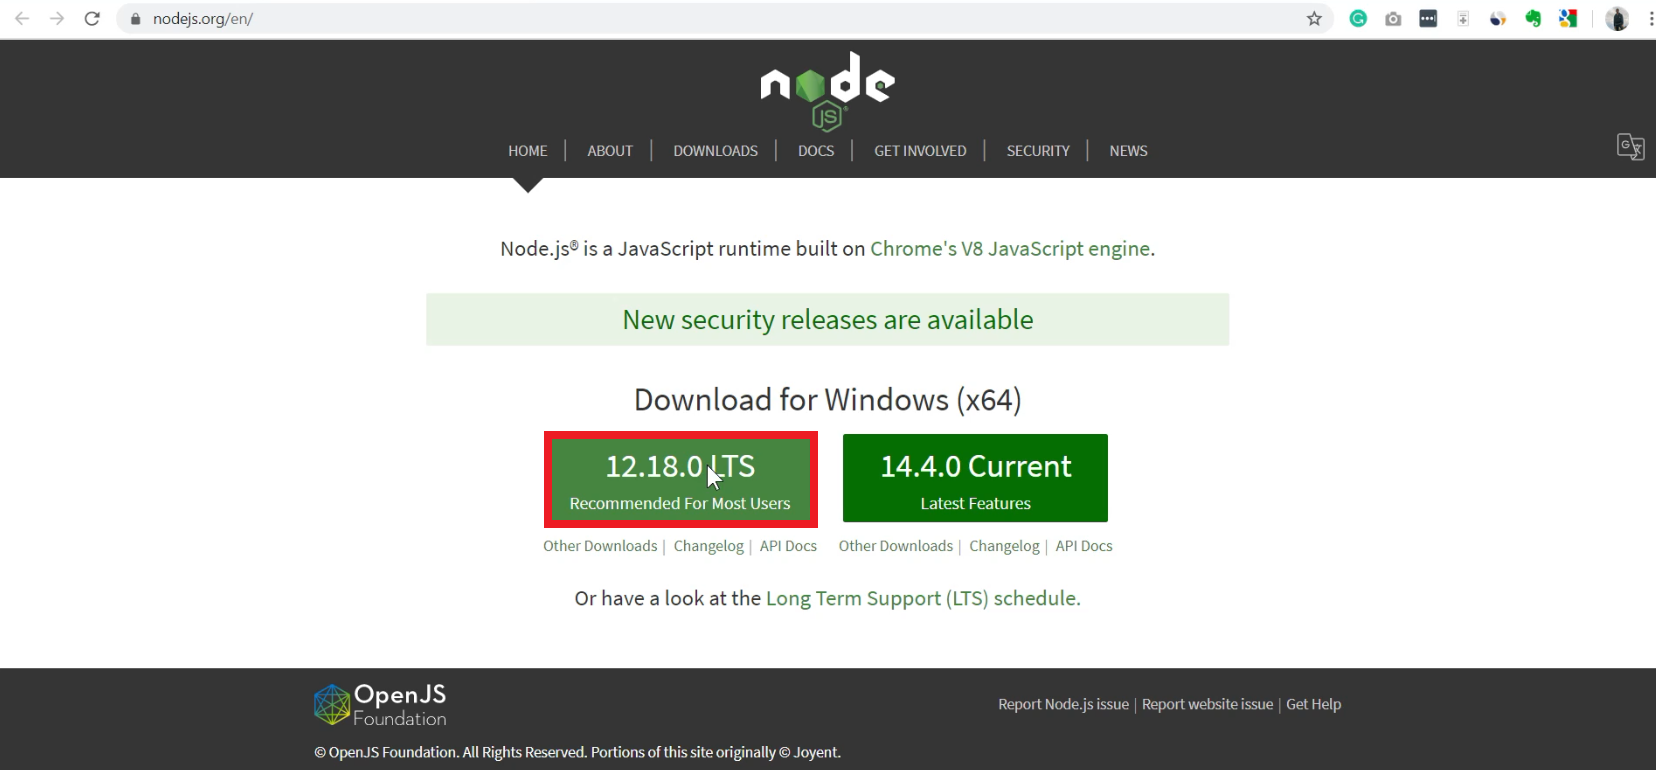
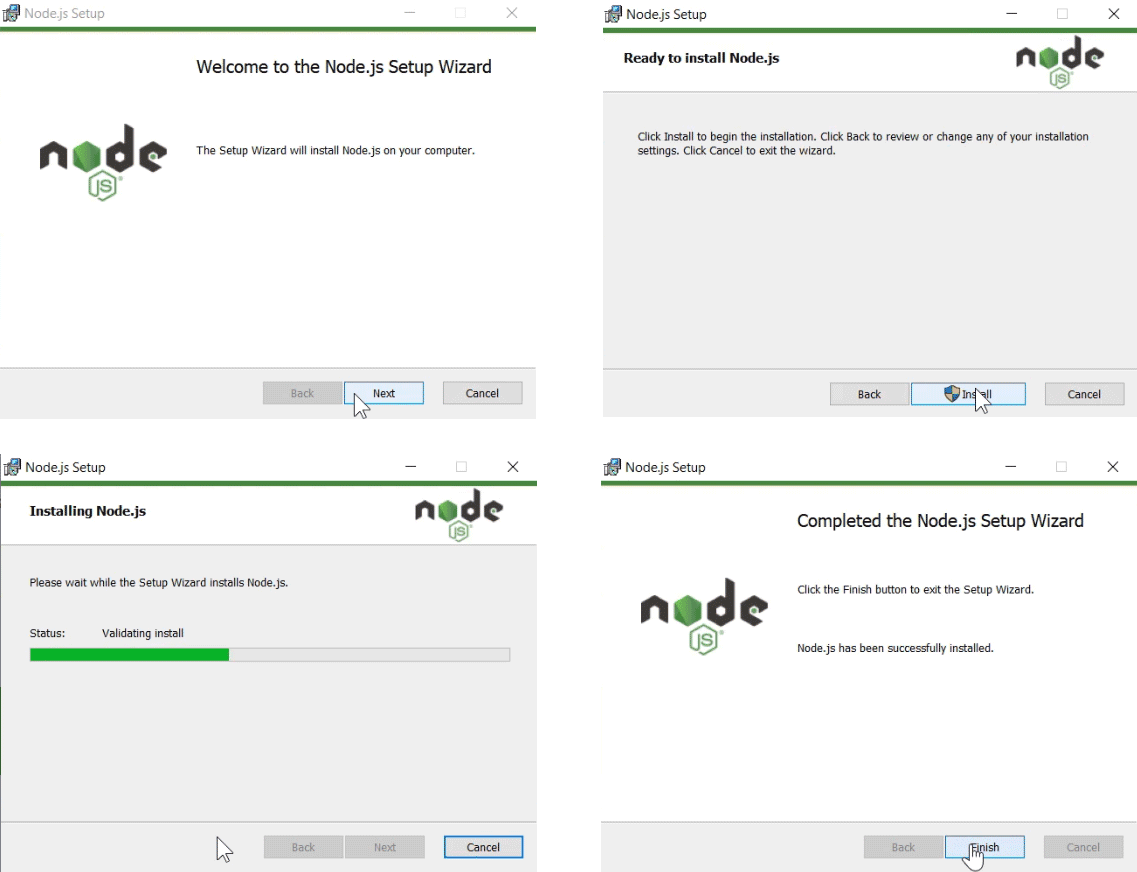
So, go to Nodejs.org website, and download the appropriate installer. Here, I download the 64-bit LTS version for the Windows operating system. Then run the installer to install Node.js on your system.
If it’s the first time you hear about Node, it is a javascript runtime environment. If that too doesn’t make sense, it allows you to run javascript outside a browser, including on servers. Earlier, Javascript was only a front-end scripting language meant to be run on the browser. That’s when node.js came and changed the game.
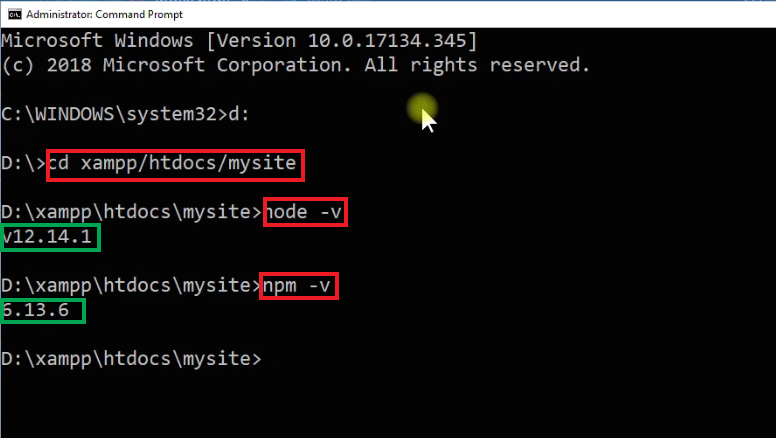
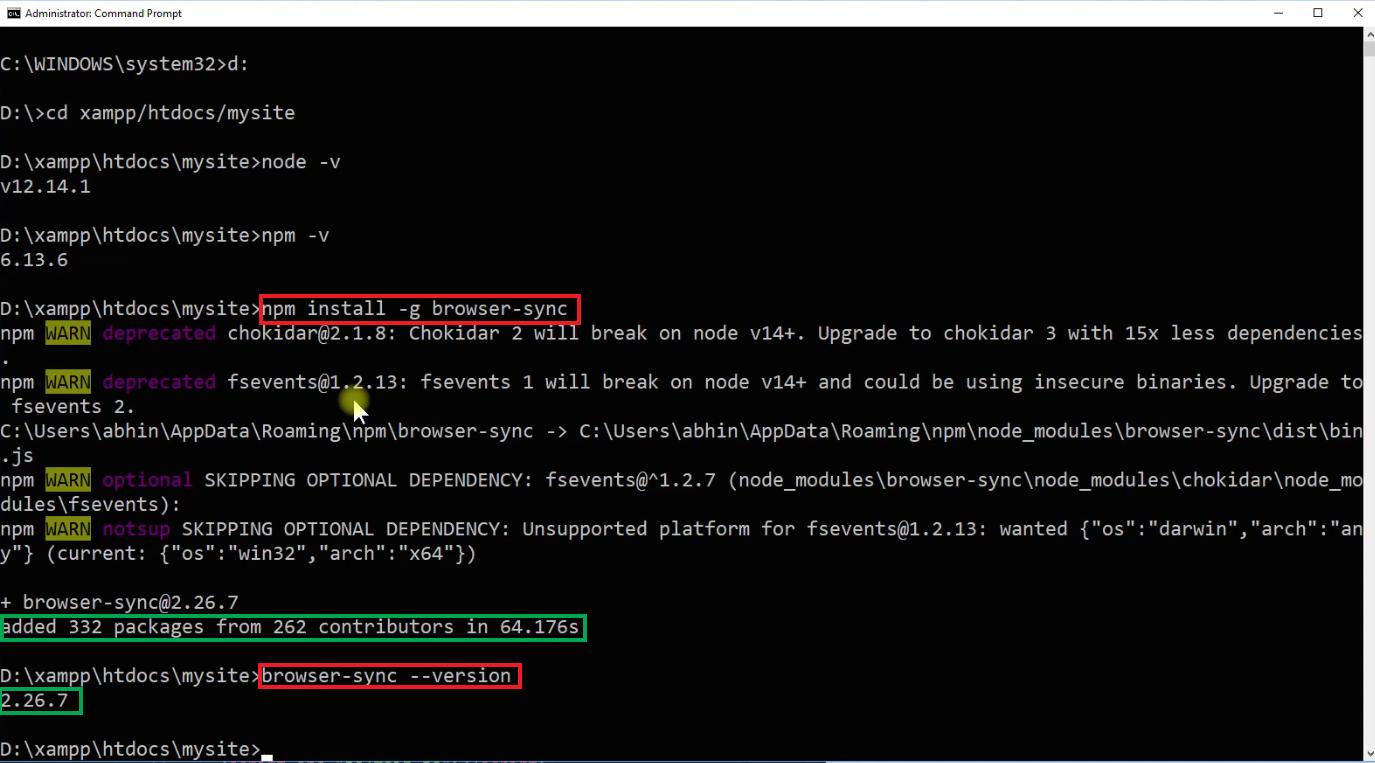
Once the installation is complete, open the Windows CMD or terminal. Navigate to the project folder inside xampp, and then run the following commands:
cd path/to/xampp/htdocs/mysite/
node -v
npm -v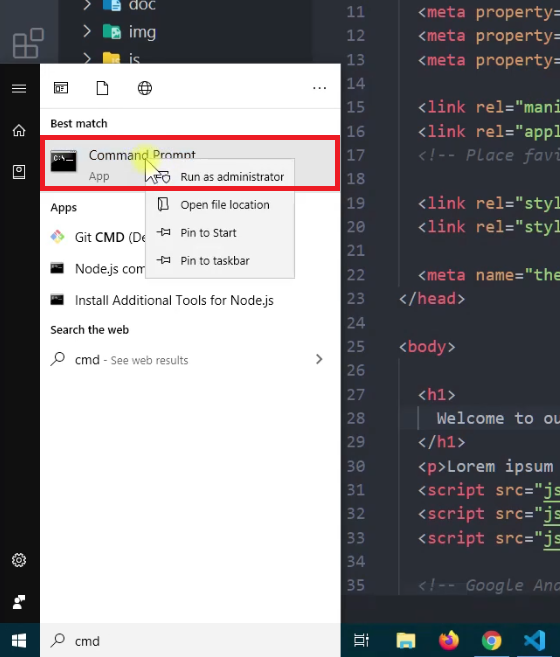
Keep the command line open. Now we can install browser-sync.
Step 3: Install Browsersync
If you visit the site browsersync.io, at the top, you can see the command to install it.
So enter it in the command line:
npm install -g browser-syncWhat it does is, it globally installs the browser-sync CLI (command line interface) on your system. Once it is installed, you can verify it:
browser-sync --versionIt will display the version of the CLI you’ve just installed.
Step 4: Run Browsersync
Run the following command to initiate browser-sync:
browser-sync start --proxy “localhost/mysite/” --files “*.html” “css/*.css” “js/*.js” --browser “chrome”
It will open a new tab on Google Chrome with the address:
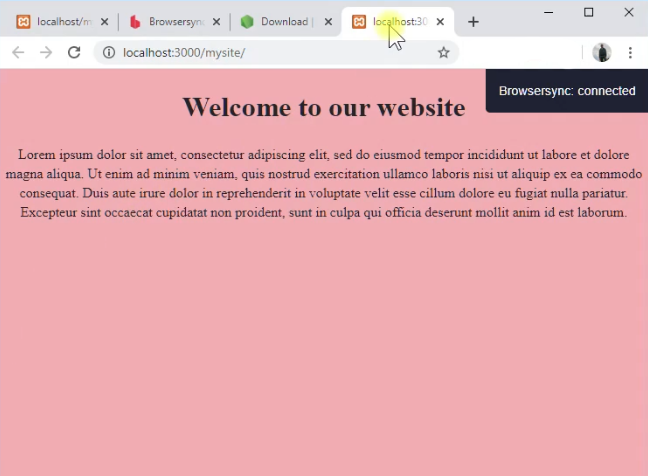
Note the number 3000 in the address. That means, browser-sync connects on port 3000 over our apache, which is on port 80.
Let us see what the command does:
- start: initiates a server and load the site on the browser(s)
- –proxy: include this option to wrap browser-sync around your existing localhost.
- –files: include the list of files browser-sync should watch. Browsersync will reload the browser when these files change.
- –browser: the browser in which the site should be opened. If you omit this option, bs will connect with the default browser (e.g., Edge in Windows). You can also include multiple browsers in the list. For example, if you want to check the site on both Chrome and Firefox, add – “chrome firefox”. It will open both browsers. Not just opening, the windows will be completely in sync, including scrolling, clicking, and other window events.
Apart from these, there are a lot more options available in the documentation. But as far as we are concerned, these are the main ones.
Now, if you edit the CSS, js, or HTML file, the browser reloads instantly, and the changes will be live.
Also, make sure to disable the cache in Chrome Developer Tools.
In addition to this method, you can also use Browsersync with other task runners like Gulp or Grunt. It is quite handy as you can run all your tasks in just one command, including live-reloading – no need to run a separate command every time.
If you haven’t yet tried Gulp, I suggest you do it, as it is really a time-saver.
Running Browsersync as part of Gulp (optional)
The first step is to install the gulp-cli. For that, run the following command:
npm install -g gulp-cliIt will install the Gulp CLI globally on your system. Next, navigate to your project folder, and install gulp locally.
cd your/project/folder/
npm install gulp --save-dev
To install both gulp and browser-sync in one command, run this instead:
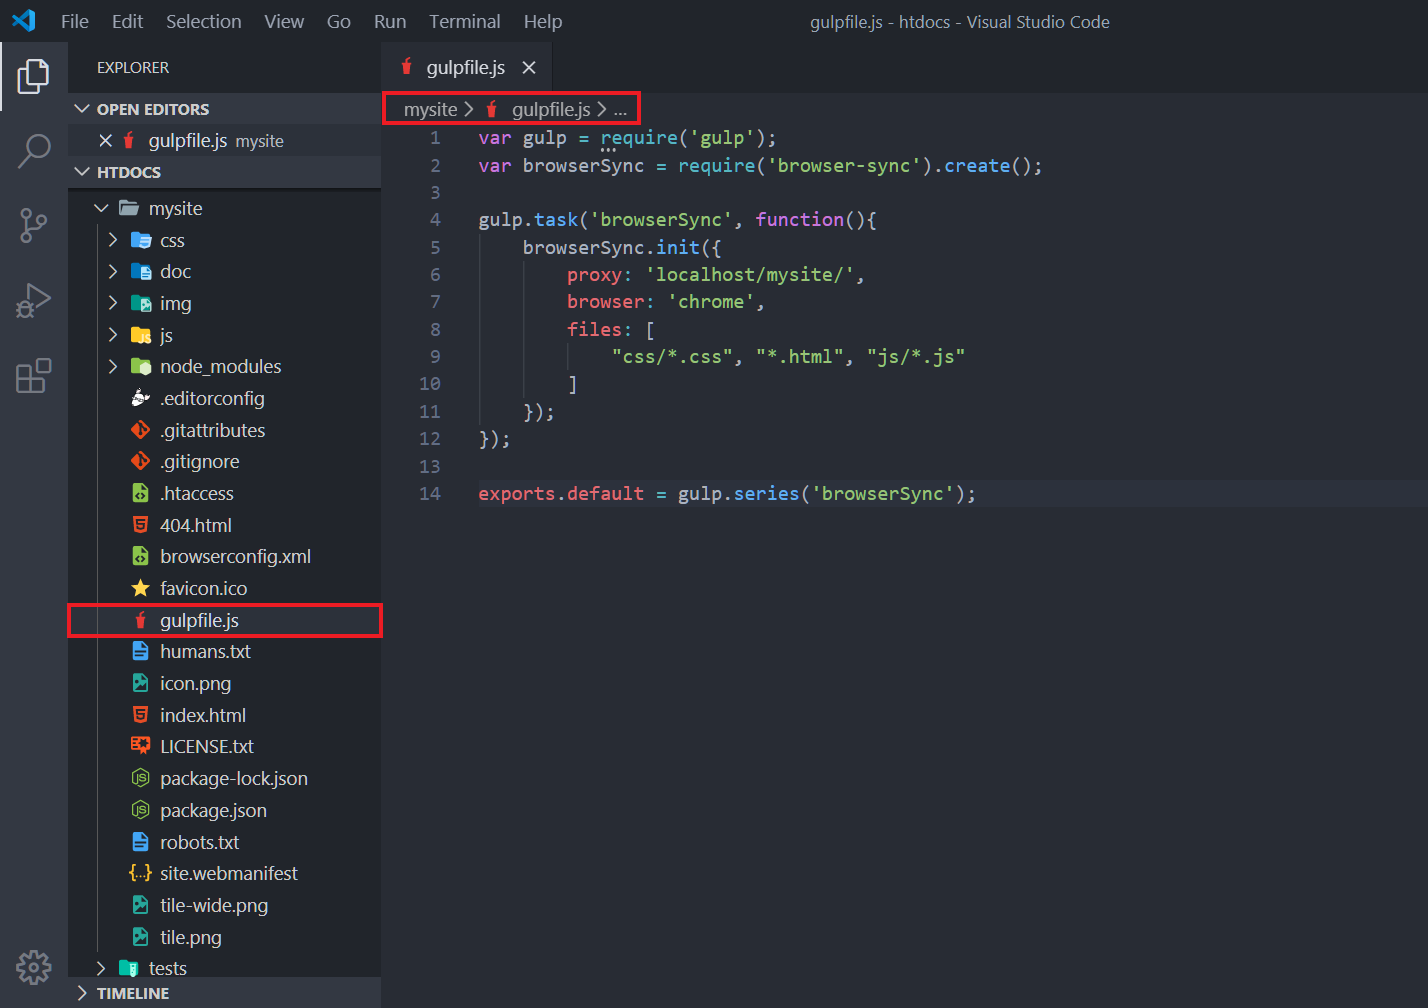
npm install gulp browser-sync --save-devNext, we have to create a gulpfile.js file at the root of your project directory.
var gulp = require('gulp');
var browserSync = require('browser-sync').create();
gulp.task('browserSync', function(){

browserSync.init({
    proxy: 'localhost/mysite',
    browser: 'chrome',

    files: [
        "css/*.css", "*.html", "js/*.js"
    ]

});

});

// create other tasks if any

gulp.task('default', gulp.series('browserSync', function(){

//include the code for your default task

}));
Then, back in the command line, run a simple command:
gulp
Conclusion
So, that’s how I implement live reloading while I develop websites. And these days, I prefer to run the task using Gulp, rather than the default command.
There are a few other packages as well, which you can use to enable live-reloading, but that required installing a browser extension to work, which I don’t like that much.
So, I hope the post has helped you to implement live-reloading on your environment.